What are PowerApps?
Microsoft describe PowerApps as
a suite of apps, services, connectors and data platform that provides a rapid application development environment to build custom apps for your business needs.
If you are like me then you're still scratching your head going, huh?
You could say PowerApps allow you to:
- Quickly create browser and mobile based programs
- That can read and write data to many sources (Excel workbooks on OneDrive, Sharepoint, Azure, SQL Server + many more
As with anything that allows great flexibility in how you use it, it's difficult to come up with an easy to understand, all encompassing single sentence explanation of PowerApps many capabilities.
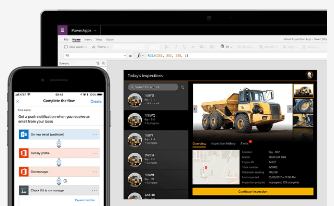
Maybe it's easier to explain with some examples of apps.
- Asset Manager - give your staff the ability to reserve the tools and equipment they need, while the app accurately calculates available inventory
- Service Desk - track service requests, assignments, and job status for your team. Quickly prioritize jobs, add notes and track tasks.
- Organisation Browser - Locate colleagues fast. A simple search will give you someone's job title, contact information, location and manager.

I think the key thing to understand is that with PowerApps you can quickly build programs you can use to improve your business. The intention is that you don't need to know how to code. A great deal of the PowerApps interface is point and click.
Put another way, if you have some data, PowerApps lets you rapidly create a program (app) to interact with (add,edit,delete) that data. This program can be used on a desktop, phone or tablet - and you don't need any (much) programming knowledge to create an app.
Exactly what this app does is up to your imagination.
In reality, whilst you can create an app with zero knowledge of programming, to get the most from what PowerApps offers, you're going to need to learn a few new things.
Templates
There are plenty of PowerApp templates for you to use and modify, making it even easier to create your apps.
Why Write This Post?
This post was inspired by a customer who wanted to survey 1000+ business locations and store that data in Excel where it would later be analysed.
She could have used Excel Survey but I thought PowerApps might be a better solution.
I wanted to send her to a web page or video that would explain what a PowerApp was and how she could use it for her problem.
But every video I watched or blog post I read still left me thinking, that doesn't explain some of the fundamentals of what a PowerApp is and what you can do with one.
So I decided I'd try to fill in those missing pieces.
In this post I'll show how PowerApp can automatically create an app that will allow the user to view, add and edit data from an Excel workbook.
Create the Workbook.
The first thing I'm going to do is create a workbook called IssueLog.xlsx. This will store technical problems that staff in my imaginary multi-national company encounter.
The data in this Issue Log will be stored in a tabular format.
The workbook will be saved on OneDrive (for Business). It must be shared with anyone that will use the app because they will need to be able to save data to the workbook.
NOTE: You can use a list in Sharepoint to do the same thing with an app, and then use Power Query to connect to that list.
Create Tables
PowerApps use the tables in your workbook to automatically create an app.
I've created a table called Issues with the following columns.

On a separate sheet I've created three more tables (Location, Department, IssueType) that I will use for data validation in the app.
NOTE: Don't use spaces in column names or they will be replaced by _x0020_. For example, "This Column" in Excel or SharePoint will appear as "This_x0020_Column" in PowerApps when displayed in the data layout or used in a formula.
Create the App
Login to PowerApps, or if you are logged in to O365, go to PowerApps.
From the Home Page Click on 'Start from data'
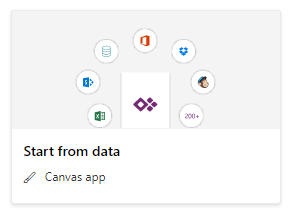
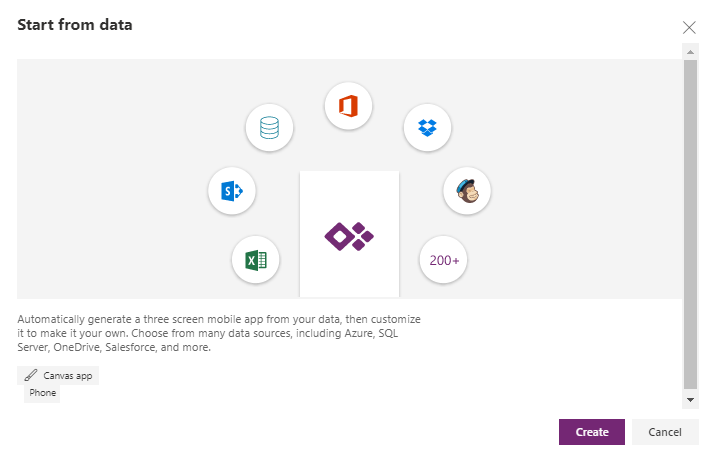
You'll see some information about the app type you've chosen, click on Create
The next screen is asking where you want to get your data from. Our workbook is on OneDrive so click on 'Phone Layout' in OneDrive for Business.
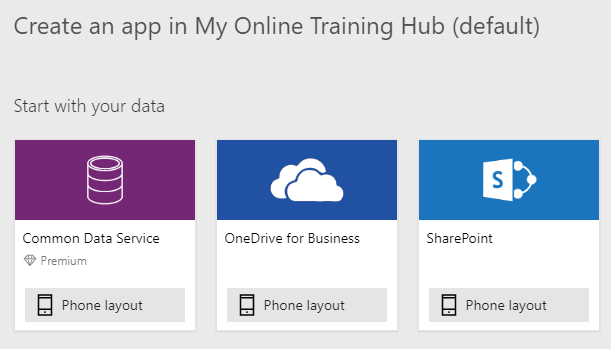
Then choose the connection (OneDrive for Business) and the file, IssueLog.xlsx.

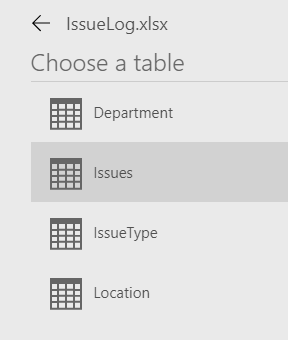
PowerApps connects to OneDrive and shows you a list of tables it finds in the workbook. The Issues table is the one that I want to use for storing Issues, so select that and click on the Connect button.
The app is created before your eyes
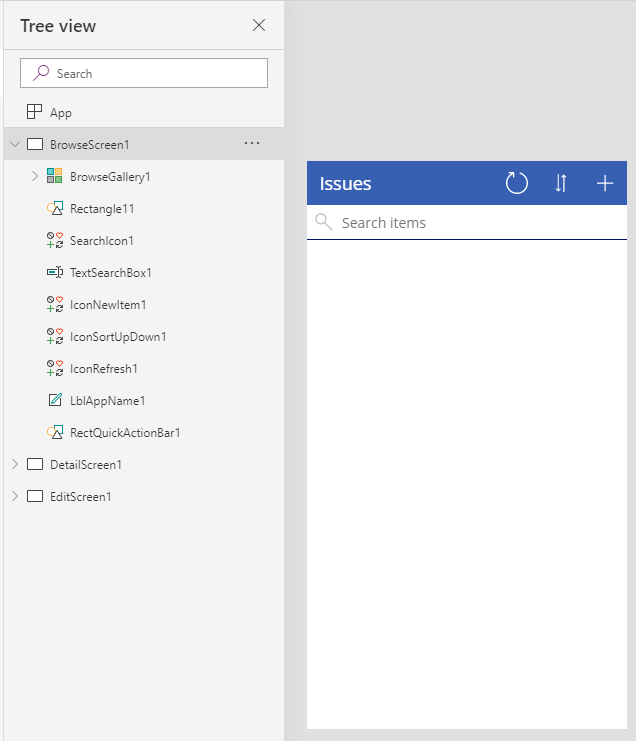
and you are left looking at the design screen for the app. On the left is a list of design elements that make up the screens on the app - like icons, shapes and search boxes.
On the right of the image is the app, showing you what it would look like if you were using it.
So What Just Happened?
At this point in time you have an app that is accessible by phone, tablet and desktop computer.
You can add records to the Issues table, and view or edit any existing records.
You could just save and share the app and not have to do any more, if that's all you wanted.
But PowerApps are very customisable and if you've had any experience with user forms, HTML, or JavaScript, then the inner workings of PowerApps will be very familiar to you.
The Anatomy of Our App
The app that was just created consists of three screens
- BrowseScreen1 - for viewing summary record data
- DetailScreen1 - for viewing detailed record data
- EditScreen1 - for creating and editing new records
A record being one row of the Issues table in our IssueLog workbook.
All of this has been created automatically based on the columns in the Issues table.
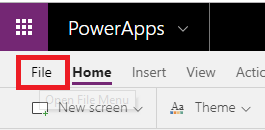
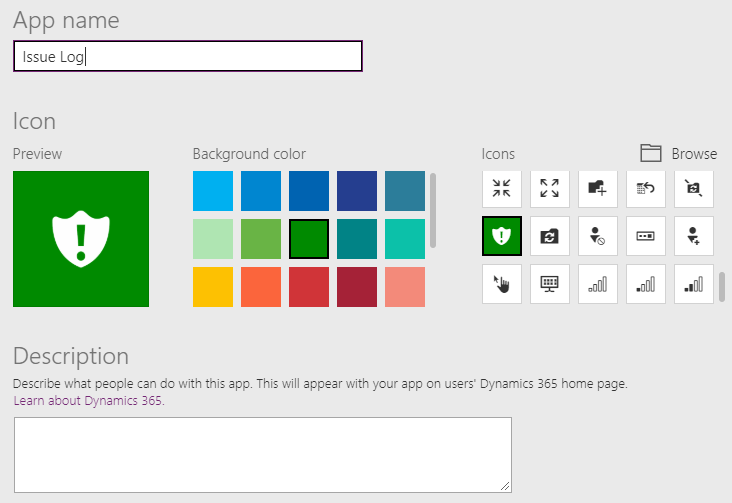
Let's do a quick trial run. Click on the File menu, and you'll see the App settings.
Enter the name for the app, choose an icon and background colour for the icon if you wish, and enter a description. Then click on Save.
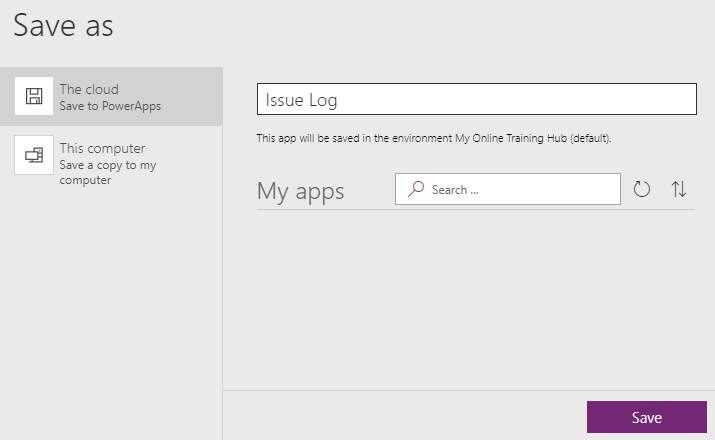
Make sure Save to the cloud is selected and then click on the Save button on the bottom right of the screen.
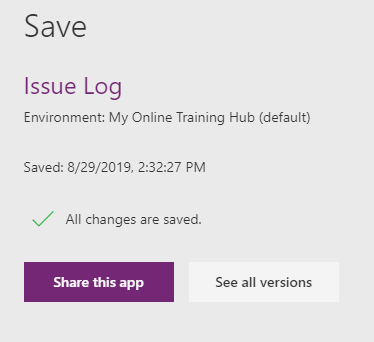
You're now prompted to share the app, so click the button to share it.
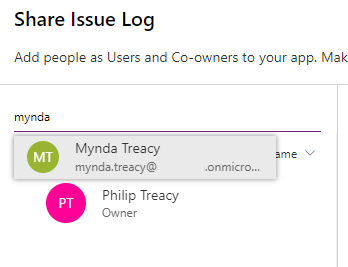
Type in the name of whomever you want to share it with, then select their name. You can select Groups of people here, you don't have to type in every single person's name.
The next screen reminds you that this person also needs the correct data permissions to access the workbook (make sure you've shared it with them in OneDrive).
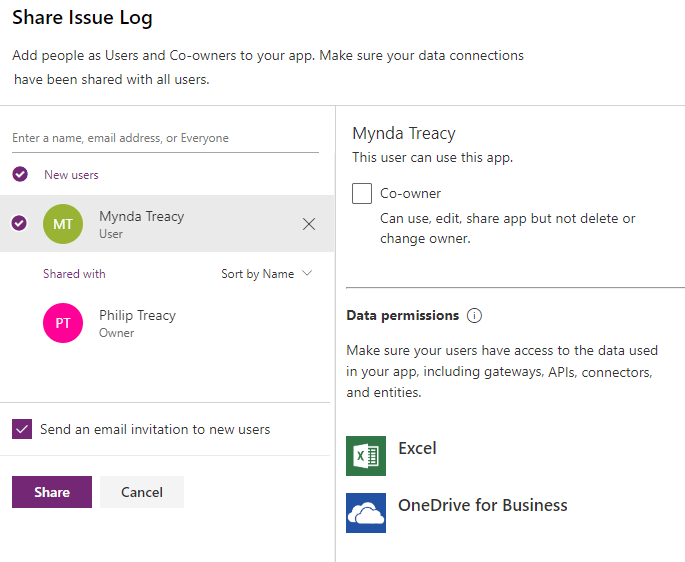
Click on Share to finish.
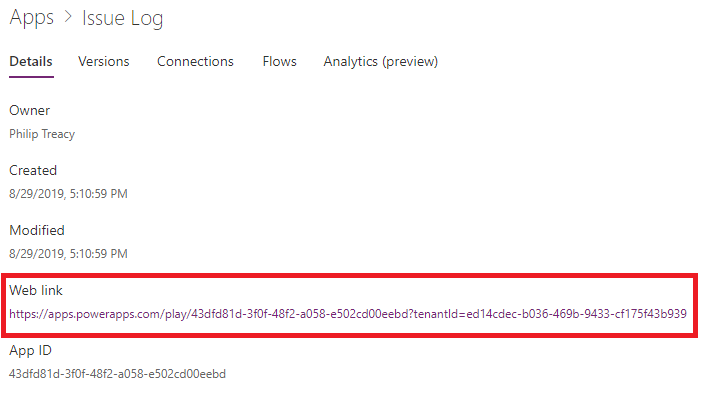
Notice on this screen now in front of you that there is a Web Link - this is what you can use to access the app via a browser. Click on this link to open the app.
Using the App in a Browser
Your app should load and be waiting for you to do something with it.
Click on the + to enter a new issue - watch the animation below to see how the app works.
With a new record created, check the workbook in OneDrive, you'll see the new data has been entered.

Not bad for just clicking a few buttons and I haven't had to write any code.
How to Access PowerApps on Mobile Devices
Download the PowerApps app from the app store of your particular mobile provider. It's available for iOS and Android.
Once installed, start it and you will be prompted to login to your Office 365 account. When you have done this, you will see any apps that have been shared with you. Just touch it to start it.
Sharing Apps
Initially, PowerApps could only be used by people within your organisation. In other words you all needed to be part of the same organisation within Office 365.
That is now changing with guest access being released.
Customizing the App
In my next post I will look at how to do a little customizing of our app, things like re-ordering the fields displayed on screen, restricting user input using data validation and some cosmetic changes to alter the look and feel of the app.
Hello,
I’ve built an app, only two screens. Everything looks fine, just like an app from app store. However, when I update the excel table, the app did not update the data. I did refresh the datasource though. I had to change the table name and went back to the powerapps and change the name of the data source. My excel file saved in One Drive Business.
Thank you.
Hi Yoke,
You’re best to post your question in the Power Automate support forum: https://powerusers.microsoft.com/t5/Microsoft-Power-Automate/ct-p/MPACommunity
Mynda
Hi Philip
Thanks for the tutorial, really good
I got two relationship tables, Foreign key in an excel workbook, should I work in that way or there is another way to do it, and it is posible, how can I see data from the other table if the gallery is already linked to core table, I mean I can see the id which is the foreign key but not their value of reference.
Hi Andres,
I’m not sure how your description relates to my blog post? You want to access data linked across multiple workbooks using Power Apps?
Without knowing the structure of your data it’s a bt hard to say what is best for you. Maybe if you start a topic no the forum and attach some sample data and a fuller description of the data and where it is stored that might help.
Regards
Phil
Hi !
Is it possible to void duplicate entry in excel database ?
Hi Derick,
If by ‘void’ you mean prevent a duplicate entry, then yes you could do this, but it depends n how you determine a duplicate. You’d need to write the logic/code for the app to check for a duplicate.
Regards
Phil
Can more than one user enter data into the table at the same time or does this cause an issue?
Hi Antony,
More than one person can use the app and enter data into the table at the same time.
Regards
Phil
Phil,
I am trying to customize the Leave Request App and I have added the excel data source but it still takes the data and adds it to a collection. How do I get it to use the spreadsheet instead of the Collection.
Hi Dion,
Instructions from Microsoft on customizing this app appear a bit thin. Be default the app stores everything in Collections. Even after you added your Excel workbook as a data source, you’d have to go into the app and recode any mention of the collection and change it to your workbook.
What is in the workbook that you must use? Is using the default collections not an option?
Phil
Phil,
Great explanation on PowerApps. I just created a contact app for our department. The Template for contacts wanted to pull from outlook, which, is missing a lot of fields(too many blanks) So I did as you did and set up a table in Excel and saved in my OneDrive. I was just playing around in the tool, and wasn’t thinking about placing the file in a location that the users would need access too as well. I’m guessing this is only if you give them edit permissions. Do you know if it is possible to change the location of your connector? Other than that they can still use the app, right?
Looking forward to your next post.
Thanks Wynne. The users will still need access to the workbook even if they aren’t editing the source data.
Yes you can change the connector. I’m assuming that by this you are wondering if you can move the data source to another location after you’ve built the app. If the table names are the same the app won’t need to be changed to refer to those tables.
Thank you Phil ! What clear and useful information. I will keep you posted on the progress and look forward to your next blog.
Thanks Charmaine, glad you found this useful.
Phil